


Related Searches
5
Results for diagnostic tool
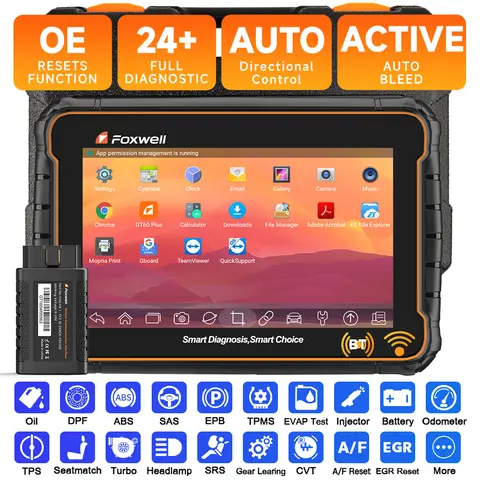
A diagnostic tool (or scan tool) is a device used to check the health and performance of an electronic engine control system. They are used by mechanics, engine tuners, and the operators of the electronic equipment that requires maintenance. Some diagnostics may require the use of specialized tools that read and interpret the sensor data recorded by the computer. These specialized tools may be used in conjunction with a laptop computer running specialized software. A diagnostic tool may also be connected directly to a vehicle's OBD-II port. The OBD-II standard defines how to connect a diagnostic tool to a vehicle. It defines how much data the diagnostic tool must retrieve from the vehicle's ECU, and it defines the standard connectors for the connection. The OBD-II port can only be connected to a tool that is specifically certified as an OBD-II diagnostic tool. These tools usually connect to the OBD-II port using a standard 16-pin connector. If you are looking for diagnostic tool, on AliExpress you can search and buy at a good price.
Enjoy Perfect Diagnostic Tool Shopping Experience At AliExpress!
1. Install the program.
To use a scan tool, you first need to install a program that controls the tool. Most OBD2 diagnostic tools have built-in software, but you can also use third-party programs. You can find many of these programs for free online.
The program must be compatible with the model of scan tool you are using. If you use a universal scan tool, you will probably need to download the software from its website.
2. Connect the tool to your car’s diagnostic port.
If the tool has a USB cable, plug it into your computer’s USB port and wait for the program to detect it. If the tool has a cable for a jack, plug the other end of the jack into the car’s diagnostic port.
Before you start the process, make sure the engine is turned off and the car is in park. If you are not sure how to find the diagnostic port, refer to the car’s manual. It should tell you exactly where the port is.
3. Select the vehicle.
In the program, select the make, model, and year of the vehicle you want to scan. This will ensure that the program knows how to read your vehicle’s information correctly.
For example, if your car is a 2012 Ford F-150, you would select “Ford,” “F-150,” and “2012.” This will make sure that your scan tool and program can read your vehicle’s information correctly.
4. Read your vehicle’s data.
Once the program is installed, you can use it to read information about your car’s systems. This includes data like your engine’s RPM and how long it takes your battery to charge.
To access your vehicle’s information, press the “Scan” or “Monitor” button on the scan tool. This will activate the scan mode, where you can see all of your vehicle’s information.
See more details about diagnostic tool in AliExpress Video Page.